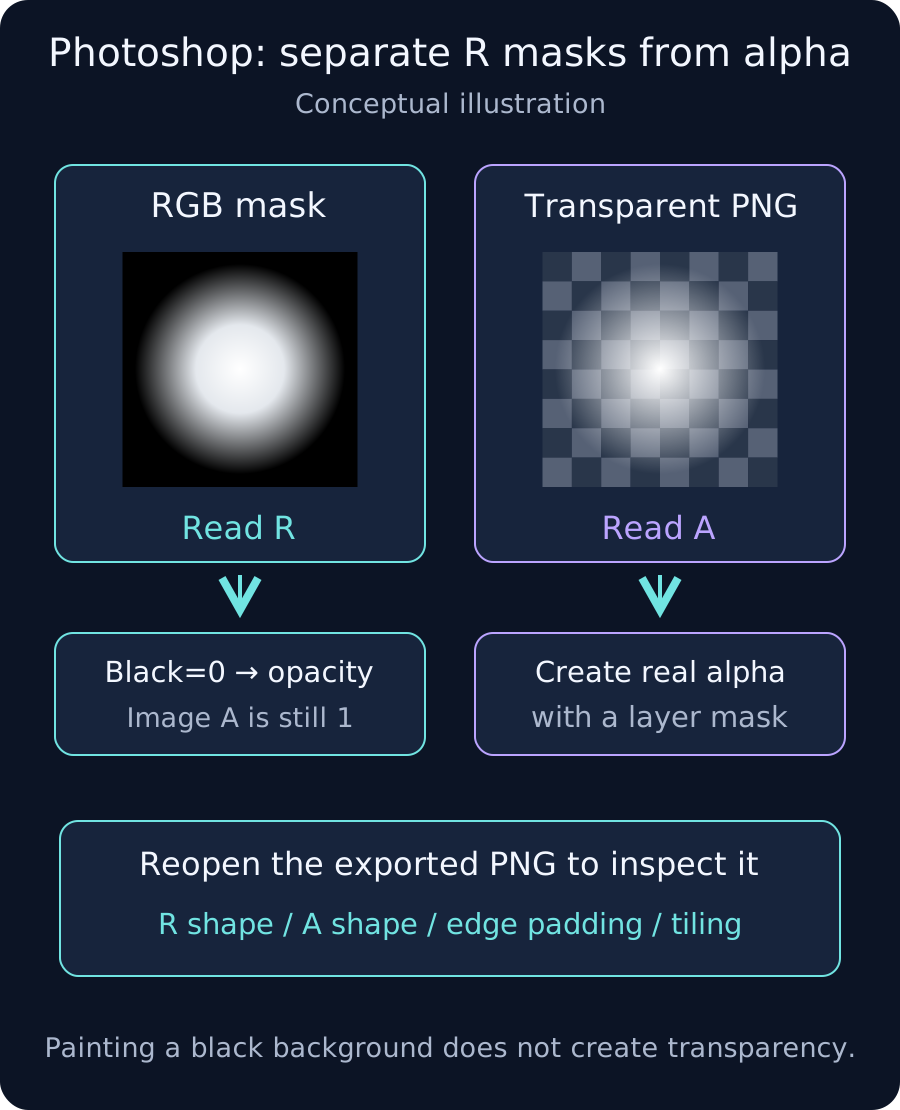
Choose how the image will become transparent
Create a 512×512 RGB image with 8 bits per channel. This grayscale mask defines a visible shape: white shows, black hides and gray becomes translucent. The image itself stays opaque; the engine’s shader reads R, its red component, as opacity. The size is for this exercise. Save the editable PSD separately from the engine-ready PNG.
1. Draw a large shape in grayscale
- Create an RGB document with a black background; draw a white shape on another layer.

RGB / 8 bit - Use a soft brush or radial gradient for glow, or a ring for a shockwave. Establish the main silhouette first.

Ring shockwave - Retain white, gray and black levels. Use Levels as needed; crushing everything to black/white loses a soft fade.

Intermediate values preserve a soft fade - Break smoke or flame contours with a layer mask; avoid uniform high-frequency noise everywhere.

Preserve the large silhouette; break up selected edges
2. Treat isolated and tiling edges differently
Leave black space around a single glow or smoke shape so its edge does not meet the edge of the image. For a scrolling strip or noise texture, join the two edges that will repeat. View → Pattern Preview reveals gaps or brightness jumps. Paint those seams out; enabling the preview does not repair them automatically.

3. Separate RGB-mask and transparent-PNG exports
| Goal | Photoshop | Shader |
|---|---|---|
| Read grayscale R | Export an opaque grayscale RGB image, including its black background. | Read sample R into Alpha/Opacity. |
| Read alpha A | Apply a grayscale layer mask to a white color layer; hide the background, verify transparency and export PNG. | Read sample A into Alpha/Opacity. |
For a transparent PNG, create actual transparent areas in the layers. Adding an extra Alpha channel in Channels does not automatically make the exported PNG background transparent. Reopen the PNG and check for the checkerboard showing transparency.

4. Export and inspect in the engine
- Use PNG export under File → Export. Enable Transparency for the alpha route; the opaque RGB-mask route does not need it.

Separate black-background RGB from layer transparency - Inspect R and A separately and identify the channel containing the shape.

Separate black-background RGB from layer transparency - Import the R mask as data: disable Unity sRGB; match Unreal sRGB/compression and sampler settings to mask use.

Also match UE compression and sampler settings - Check Repeat/Clamp, minification and compressed edges. Source PNG compression and runtime texture compression are separate.

Separate import settings, distance and screen size