When developing mobile or VR games using Unity's Universal Render Pipeline (URP), adjusting the Render Scale is one of the most effective optimization techniques to reduce GPU fill-rate (pixel shading) load. Lowering the Render Scale to 0.7 or 0.5 reduces the number of rendered pixels dramatically, yielding substantial frame rate improvements.
However, when applying this setting, developers often encounter a critical visual bug: not only the 3D models, but also the entire game UI (uGUI buttons, icons, TextMeshPro text, etc.) become pixelated and extremely blurry. In this article, we'll explain the mechanics of URP camera stacking that cause this UI blurriness, and walk through how to configure your project to optimize 3D rendering while maintaining sharp UI resolution.
1. Root Cause: Camera Stacking Sharing the Render Target Resolution
To overlay UI on top of 3D objects cleanly in URP, developers typically use Camera Stacking. This setup registers a UI-rendering Overlay camera in the Stack list of the 3D-rendering Base camera.
However, URP's camera pipeline dictates that all cameras in a stack render into the same temporary render target buffer allocated for the Base camera.
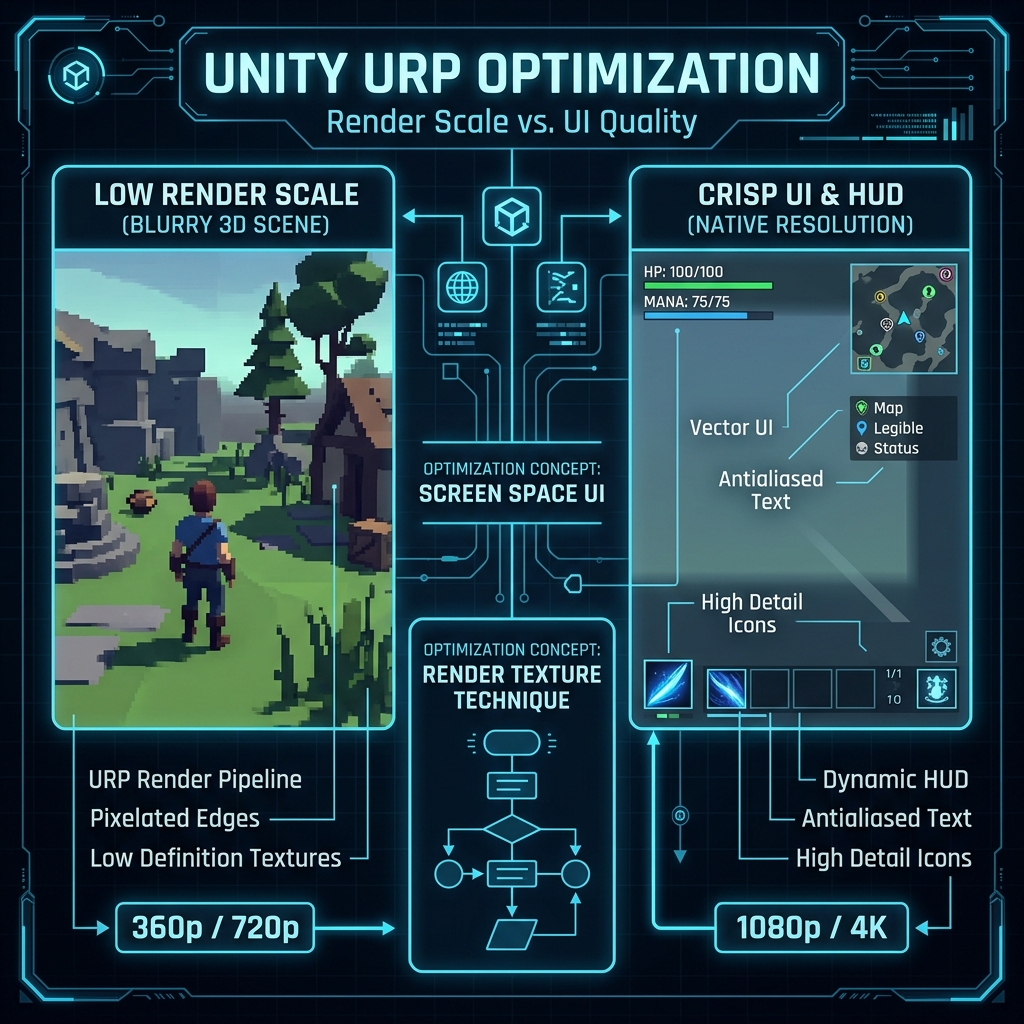
Diagram: How a reduced Render Scale on the 3D Base Camera downsamples the viewport target for the stacked UI Overlay Camera.
When you change the URP Asset's Render Scale (or set it via code: UniversalRenderPipelineAsset.renderScale), this render target's resolution is scaled down to Physical Resolution × Render Scale. For instance, on a Full HD (1920x1080) screen, a Render Scale of 0.5 shrinks the intermediate rendering target to 960x540.
Since the stacked UI Overlay Camera renders to this exact target, all UI text and sprites are rasterized at the low 960x540 resolution. Finally, during backbuffer blitting or post-processing, this low-resolution image is stretched to fit the 1920x1080 screen, resulting in a blurry, pixelated UI.
2. Solution 1: Use "Screen Space - Overlay" (Easiest & Most Performant)
If your UI does not need to blend with 3D elements (such as rendering 3D particles between UI layers) or require post-processing (like Bloom or Depth of Field on UI), changing the Canvas Render Mode to Screen Space - Overlay is the simplest and most performant solution.
Setup Steps:
- Select your UI
CanvasGameObject in the Hierarchy. - In the Inspector, locate the Canvas component.
- Change the Render Mode from
Screen Space - CameratoScreen Space - Overlay. - Remove the
UI Camerafrom the Main Camera's Stack list (it is no longer needed in the camera loop).
UI rendered in Screen Space - Overlay mode bypasses the camera rendering loop entirely and draws directly onto the device's physical backbuffer after URP completes its 3D render passes. Even if the 3D Base Camera's Render Scale is set to 0.1, the UI remains perfectly sharp at the display's native resolution. Furthermore, this reduces camera stack overhead, providing a minor performance boost.
3. Solution 2: Multi-Base Camera Setup to Isolate the UI Camera Scale
If your design requires UI-world interleaving (like drawing 3D particles or meshes in front of UI text) or requires independent post-processing, you must keep the Canvas in Camera mode. To avoid downsampling the UI, configure your UI Camera as an independent Base Camera instead of an Overlay camera.
Setup Steps:
- Select your UI-rendering Camera (e.g.,
UI Camera). - In the Inspector, change Render Type from
OverlaytoBase. - Set the camera's Clear Flags (or
Background Type) toDepth OnlyorDon't Clear(orUninitialized) so it overlays UI elements on top of the already rendered 3D scene. - Verify in your URP camera settings that options like Allow Dynamic Resolution are disabled for the UI Camera.
- Set the UI Camera's Depth value (rendering order) higher than the 3D Base Camera (e.g., 3D Camera Depth = -1, UI Camera Depth = 1).
- Remove the UI Camera from the Main Camera's
Stacklist since it now runs independently.
In this configuration, once the 3D camera finishes rendering the scene to the backbuffer at 0.5x Render Scale, the UI Camera kicks in as a separate Base Camera, rendering to its own target at 1.0x Render Scale. This overlays crisp, native-resolution UI elements on top of the optimized 3D world.
4. Setup Configurations Comparison & Trade-offs
| Setup Method | Pros | Cons / Considerations |
|---|---|---|
| 1. Base (3D) + Overlay (UI) (Standard Stack) |
Easy setup, blends post-processing across all cameras in the stack easily. | Directly affected by Render Scale. UI text becomes illegible when 3D graphics are optimized. |
| 2. Screen Space - Overlay (Recommended / Default) |
Highest performance. Completely ignores Render Scale, staying sharp. No camera stack overhead. | Cannot render 3D meshes or particles in front of UI elements. Post-processing volume effects cannot be applied to UI. |
| 3. Multi-Base Camera Setup (Design-focused Option) |
Enables 3D elements in UI. Supports dedicated UI-only post-processing volumes. | Running multiple Base cameras triggers extra render passes, adding minor draw call and buffer clearing overhead compared to stacked rendering. |
5. Dynamic Render Scale Control Script
Here is an example script to adjust the URP Render Scale dynamically (e.g., from a settings menu or performance monitor) without compromising UI clarity:
using UnityEngine;
using UnityEngine.Rendering;
using UnityEngine.Rendering.Universal;

public class RenderScaleController : MonoBehaviour
{
    [Range(0.1f, 2.0f)]
    public float targetRenderScale = 1.0f;

    void Start()
    {
        ApplyRenderScale(targetRenderScale);
    }

    // Call this method from sliders or quality settings events
    public void SetRenderScale(float value)
    {
        targetRenderScale = Mathf.Clamp(value, 0.1f, 2.0f);
        ApplyRenderScale(targetRenderScale);
    }

    private void ApplyRenderScale(float scale)
    {
        if (GraphicsSettings.currentRenderPipeline is UniversalRenderPipelineAsset urpAsset)
        {
            // Sets the active pipeline asset's render scale.
            // This dynamically shifts the render target size for the active 3D Base Camera.
            urpAsset.renderScale = scale;
            Debug.Log($"[GraphicsSettings] Active URP Render Scale set to: {scale:F2}");
        }
        else
        {
            Debug.LogWarning("Active render pipeline is not Universal Render Pipeline (URP).");
        }
    }
}
By coupling this script with **Screen Space - Overlay** or a **Multi-Base Camera** configuration, you can dynamically downscale 3D models for performance while keeping scoreboards, menus, and text elements crisp and sharp, ensuring a polished player experience.